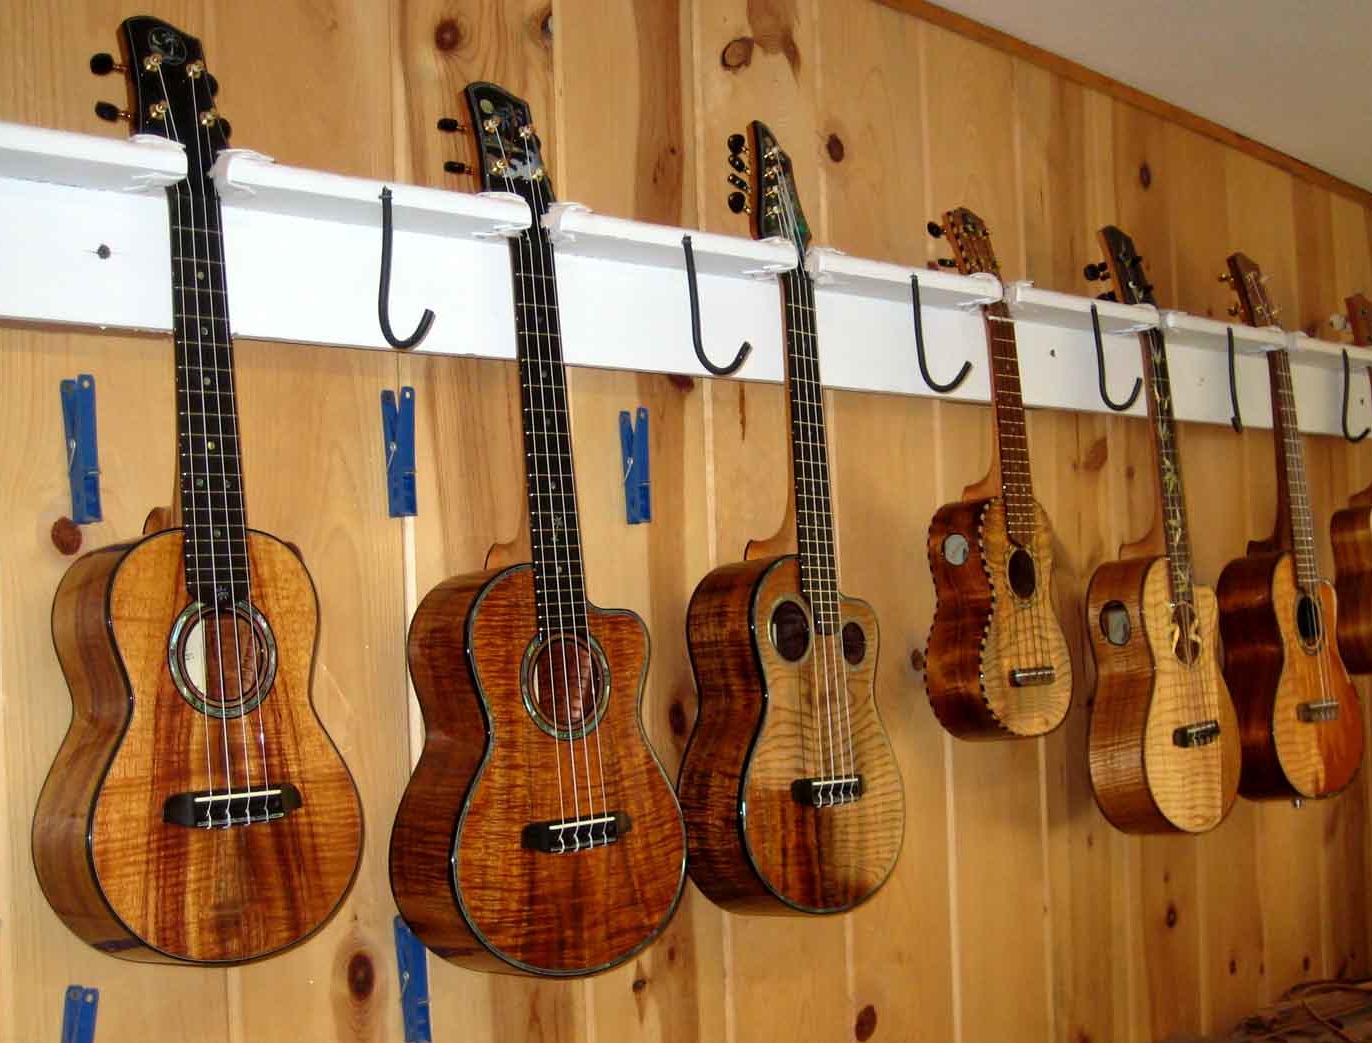
Moore Bettah
ukuleles
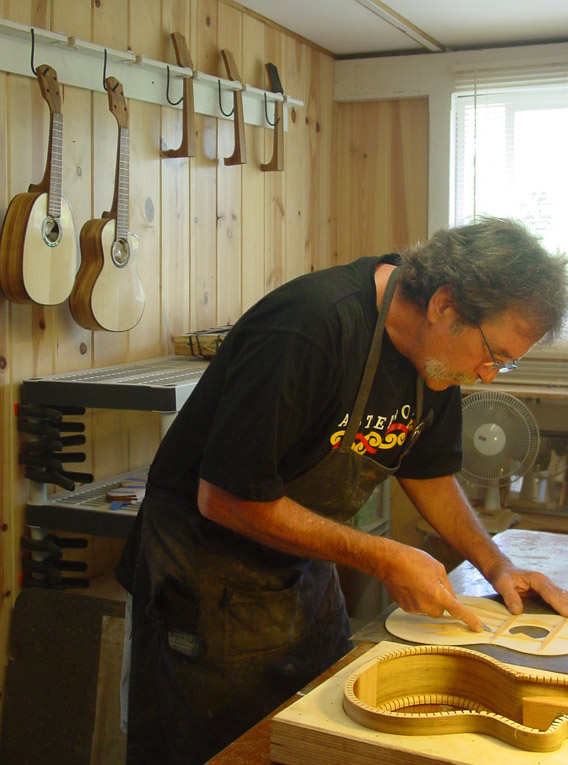
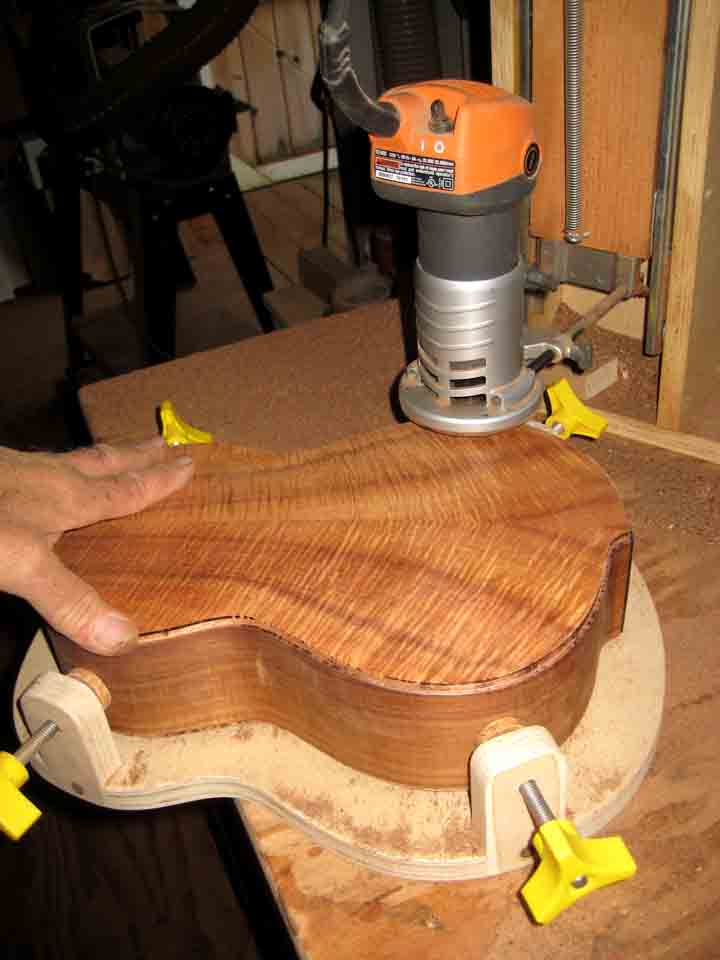
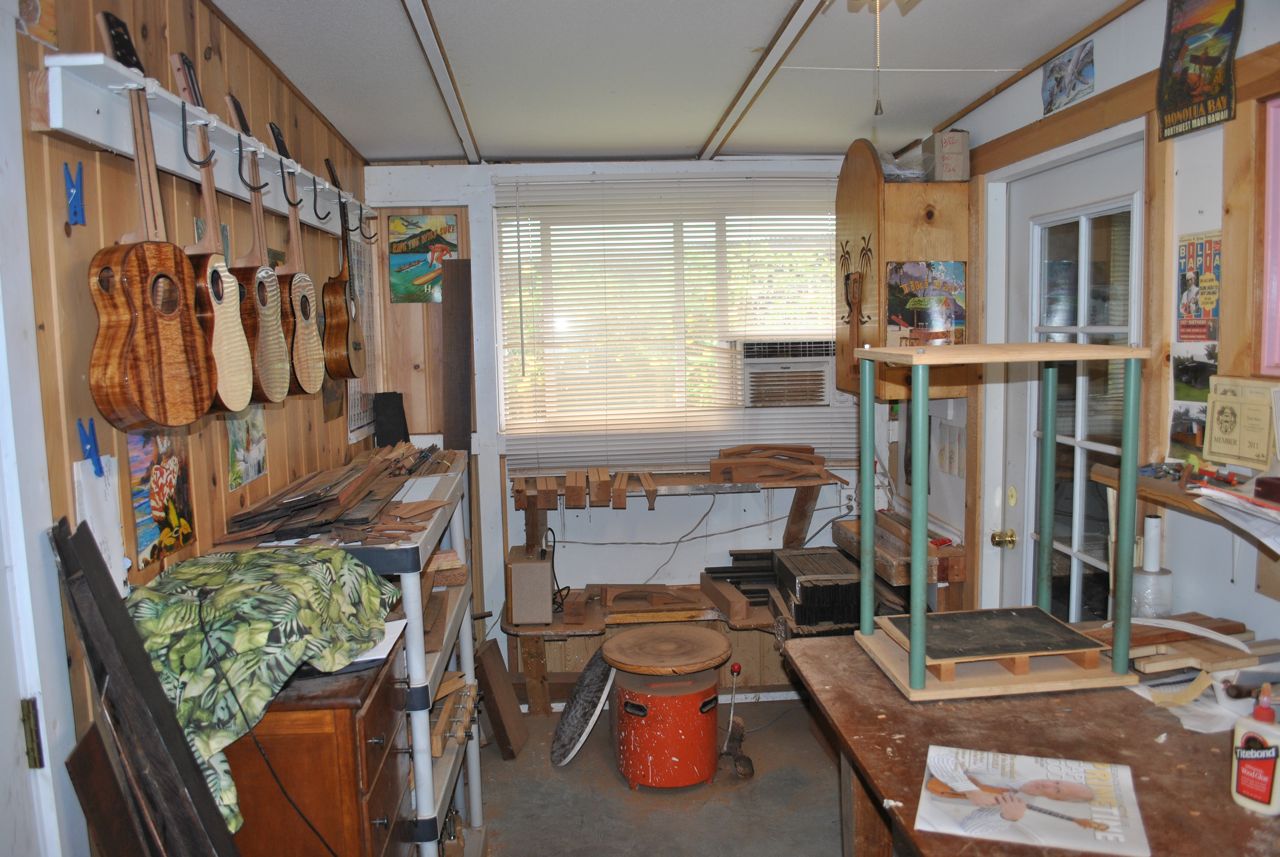
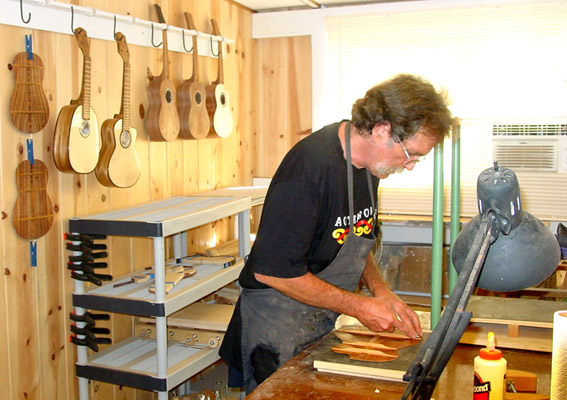
All phases of building take place in this room. With the advantage of a temperature and humidity controlled building room that is isolated from the rest of the wood shop I am able to make sure that all the wood components are thoroughly dry and stable before assembly. All of the wood that I will use within the next few years are also stored here. Although the ambient humidity in this part of coastal Hawaii averages 80%, I am able to maintain a relative humidity in the building room of between 45-50%. This assures the buyer that any changes in the wood in the future would be minimal if cared for reasonably. No matter what soundboard wood I choose, I always build in a 25 foot radius into the top, creating a slight arch that adds to the strength of the top and helps to reduce distortion.
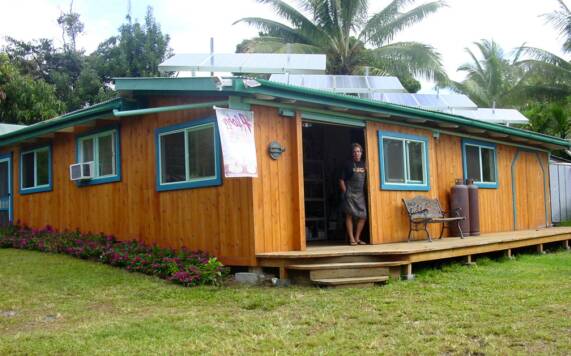
Solar powered shop in Opihikao, Hawaii
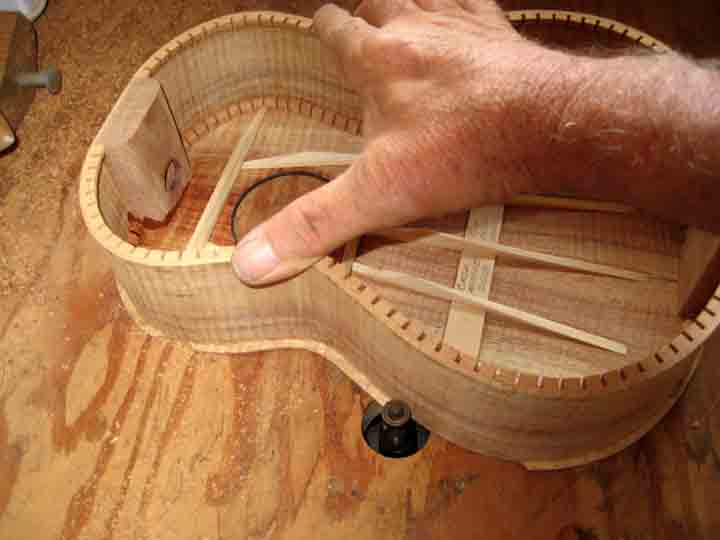
Profiling the soundboard braces in the climate-contolled build room
A life long love affair with Hawaii and the South Pacific compelled me to move to the island of Moloka'i more than twenty years ago. I was immediately captivated by the sights, the sounds, the people and the laid back atmosphere of this rural tropical paradise. After extensively exploring the South Seas I knew that Hawaii was the place I had to be. While I was continuing my career as a potter and making scrimshaw I took the opportunity of this radical change in geography and lifestyle to explore other forms of art that I had longed to do. With the abundance of tropical woods around me I decided to pursue wood carving and for a while I made sculptural and architectural pieces that wound up in many homes throughout Hawaii.
One day a local bruddah stopped by my shop with the biggest coconut I'd ever seen and in sing-song pigeon English said "Hey brah,you make me ukulele out of dis?' The huge coconut he handed to me turned out to be of the "Samoan" variety which was pretty scarce where I lived but he kept me supplied with enough of them to turn out quite a few two or three nutted "coco-leles" for quite a while. These were relatively simple instruments though some had rosettes and hand carved tuning pegs of fossil walrus ivory (from my scrimshaw stash.)
Thickness sanding koa....Hawaiian style!
MY WORK ....where it happens, how it happens and why.

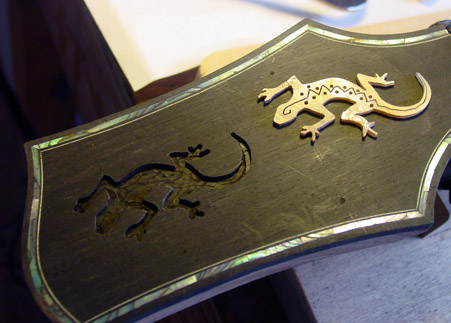
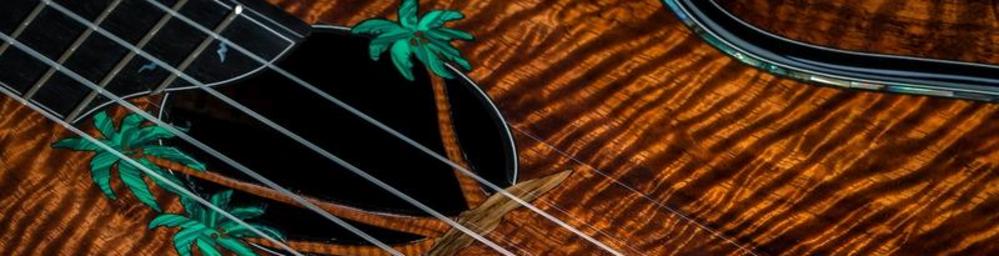
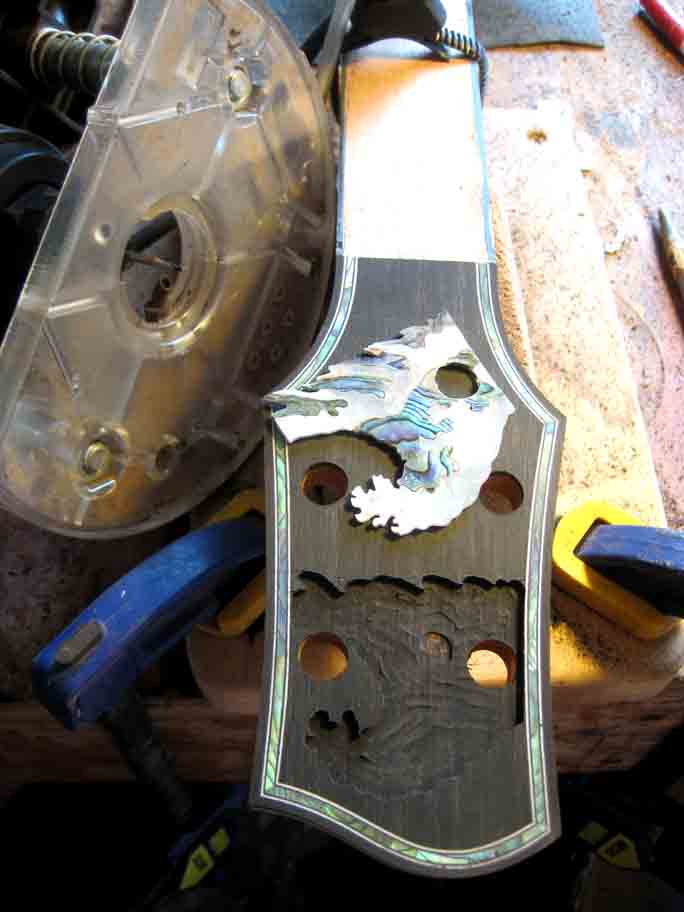
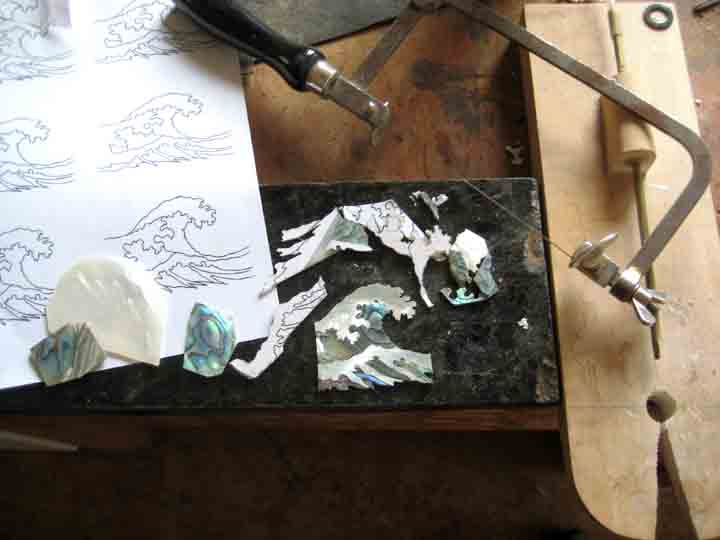
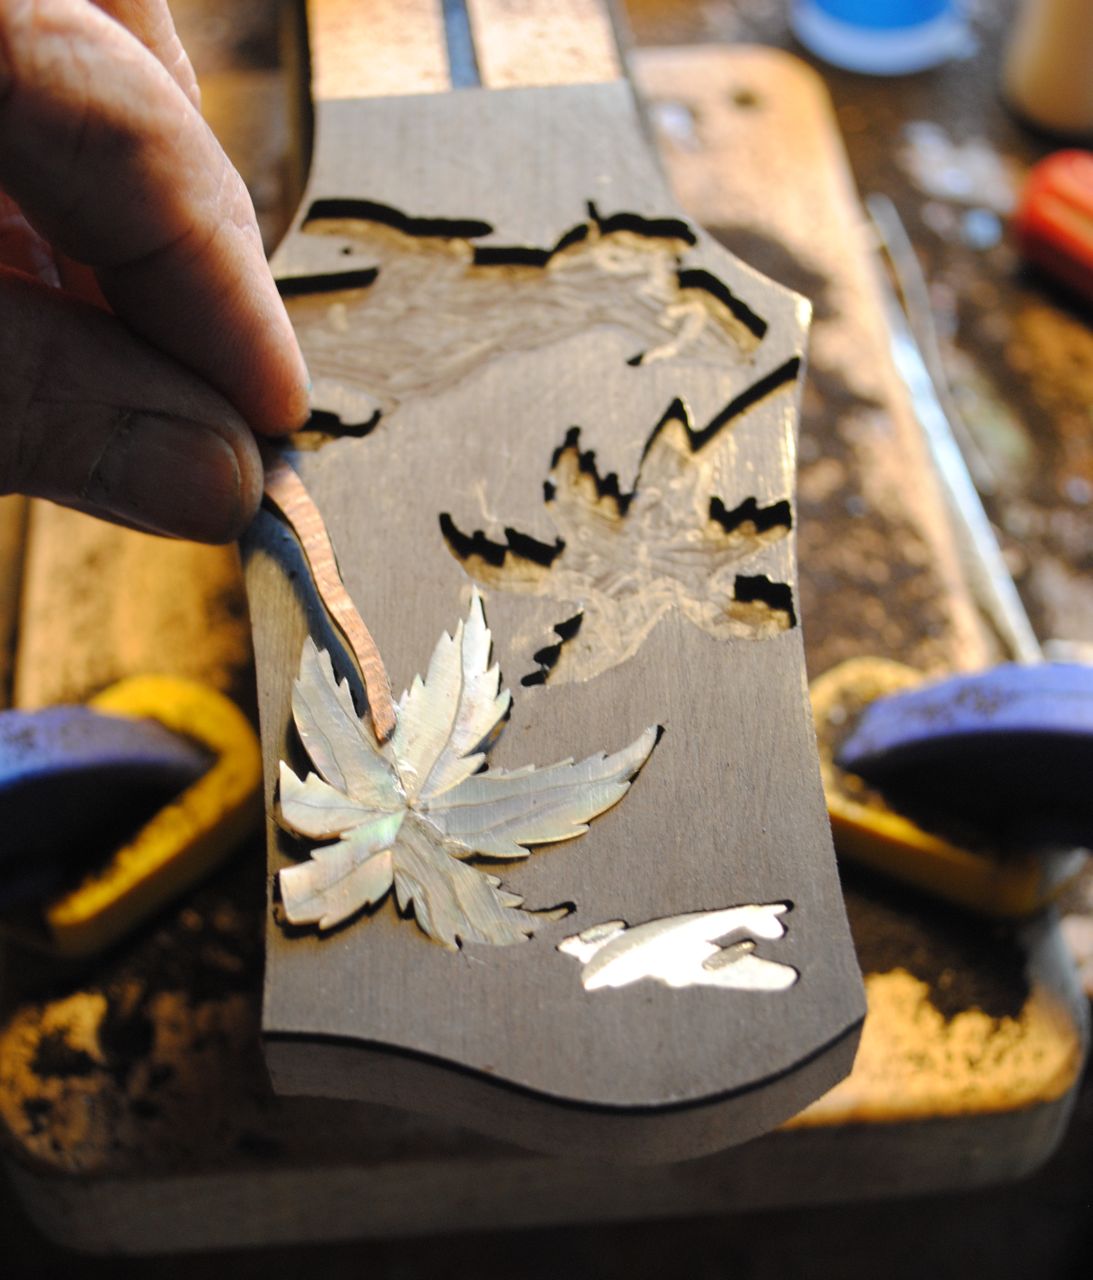
Inlaying black pearl shell
Inlaying is one of my favorite aspects of building ukuleles. It gives me an opportunity to give the instrument a truly unique personality. The shell I use is all solid shell, not laminate or veneer.I am fortunate to have a good supply of Tahitian black pearl shells that I've collected during my travels in the South Pacific. After I grind the rough shell by hand I sand it to a working thickness, cut out the shapes with a jeweler's saw and rout out the recess with a rotary tool. I also use fossil walrus ivory, composite stone and abalone shell that is worked in the same way.
Many of the woods I use are found locally on the Big Island, including koa, mango, and kiawe. The materials I use in construction are of solid wood, no plywoods or veneers are used. Instrument grade koa is especially treasured with demand surpassing the dwindling supply and has become increasingly more valuable in the past few years. Every type of wood imparts it's own unique signature to the characteristics of the finished ukulele. For bindings and fretboards I use non-endangered tropical hardwoods such as cocobolo, ebony, purple heart, bocote, wenge, etc. As a woodworker, it's always exciting to cut through a new piece of wood to reveal the surprises (or heart aches) within.
I build my ukuleles in small batches of four over a ten week period. This extended time allows the various wood components to reach their natural equilibrium and for the lacquer finish to fully cure.While other builders may farm out certain processes of their work, I complete every step of the build myself from milling the rough wood to final set up. This includes fabricating my own bindings, kerfings, cutting and setting inlays, and spraying, sanding and buffing the finishes. No CNCs or milling machines are used. I take pride in the fact that every element is hand made by myself.
The Climate Controlled Room
It wasn't until I moved to the Big Island of Hawaii however that I decided to build ukuleles full time. After all, "the Big Island is where all the koa comes from" and what better homage to pay to this scarce and exotic wood than to create beautiful and wonderful sounding ukuleles from it.
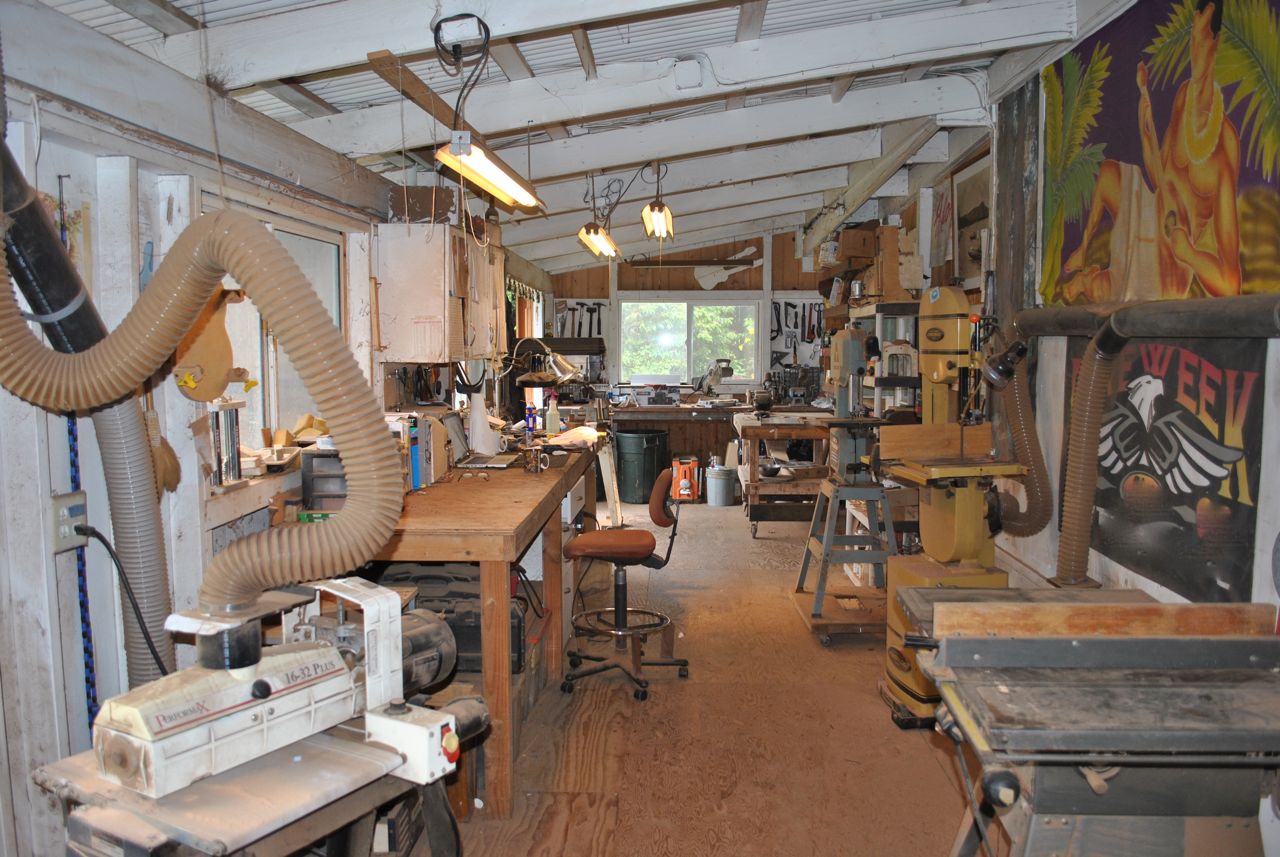
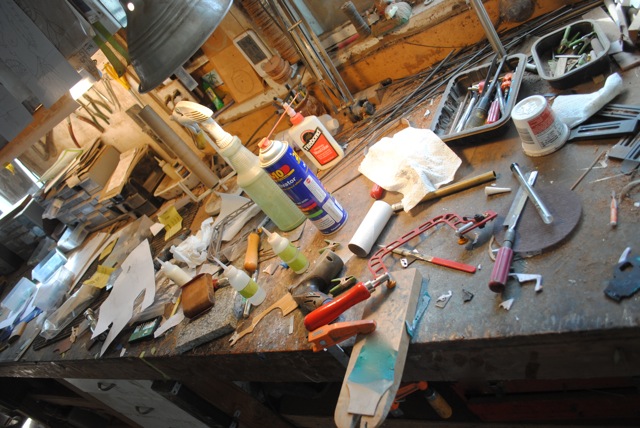
The Workshop
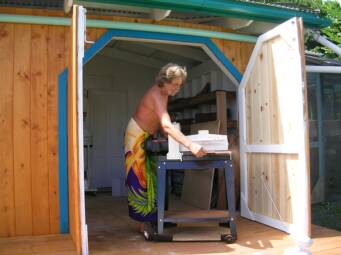
The process begins in this room where all the rough cutting, shaping and sanding is done. Thankfully we get enough sun in Opihikao to keep these machines running, including air conditioner and dehumidifier. The koa I use is air dried for several years the is kept in a special drying unit that maintains a higher temperature and low humidity so that the final lumber has a moisture content of between 6 and 8 percent.
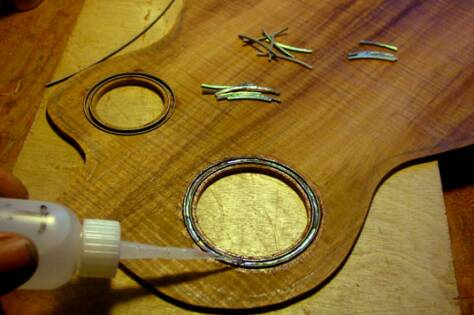

Inlaying paua abalone pearl shell rosettes
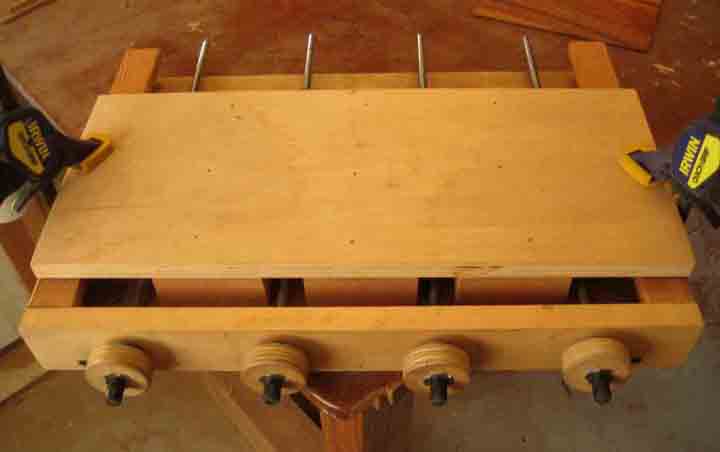
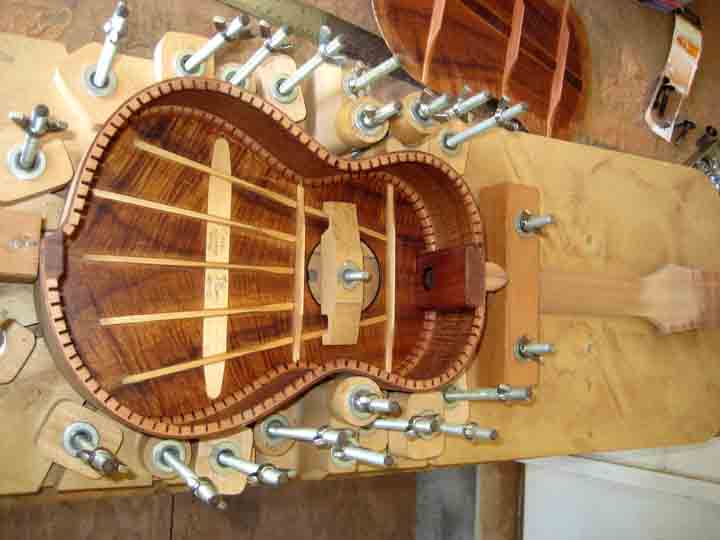
Gluing the braces on a sound board using the "Go-deck".
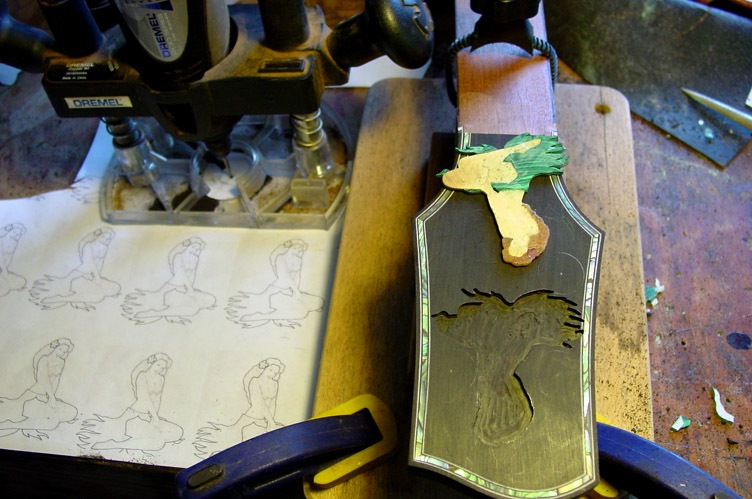
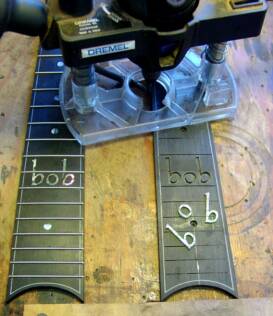
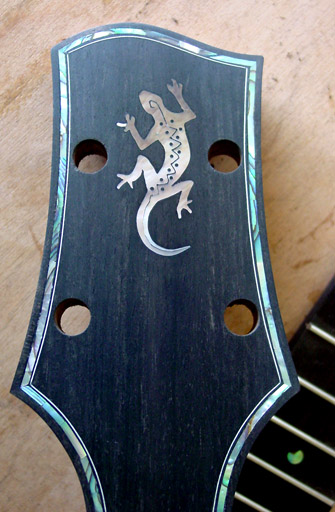
Inlaying fret boards
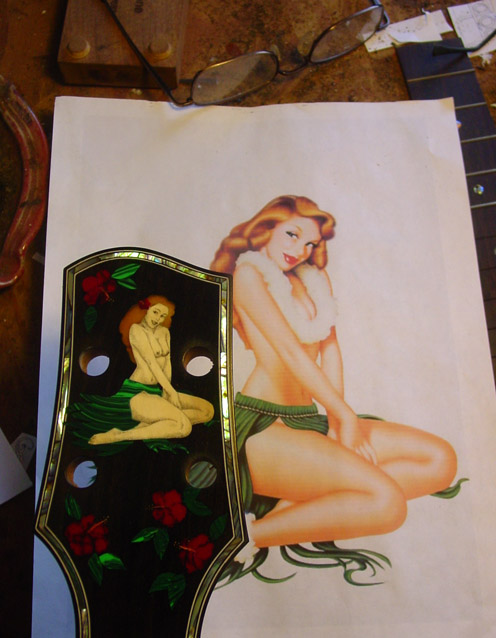
Customer supplied the drawing that inspired this inlay. Materials used were mastadon ivory and composition stone.
What follows here is an assortment of process pictures......in no particular order!
One of the side benders. Electric heat blankets are used to bend the sides.
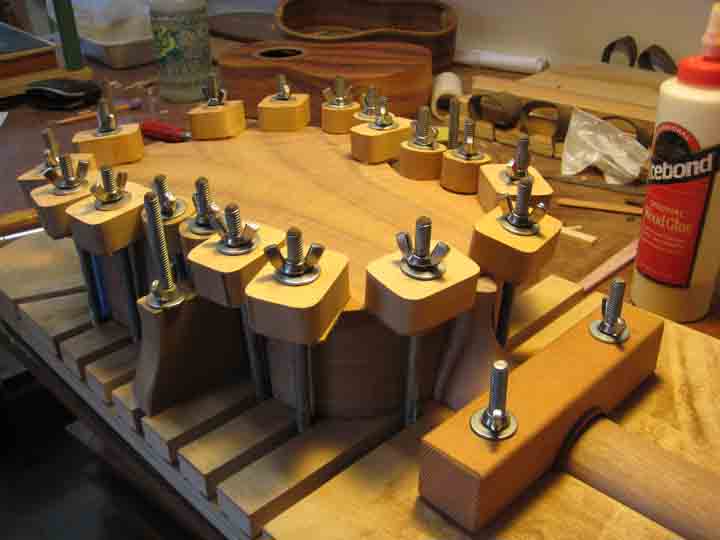
The plate joining jig. The tops and backs are book matched, glued and clamped together in this fixture.
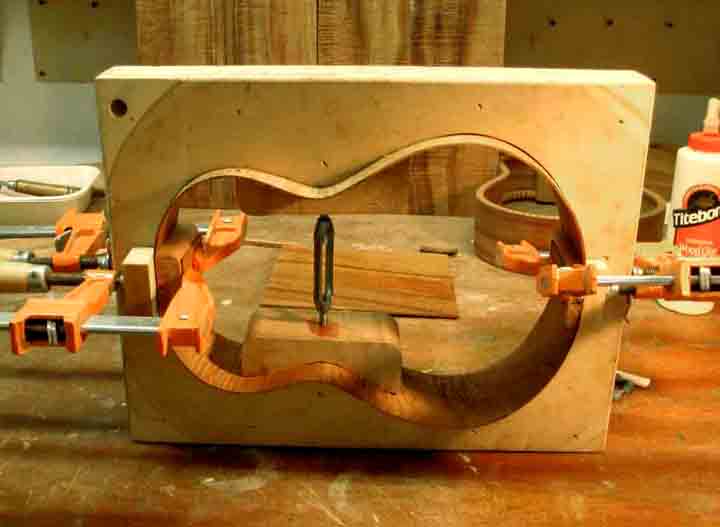
The bent sides are placed into a mold while head and tail blocks are glued into place.
The sides get curve (radius) sanded into them on a radius dish attached to a motorized potter's wheel.
Kerfings are clamped and glued into place.
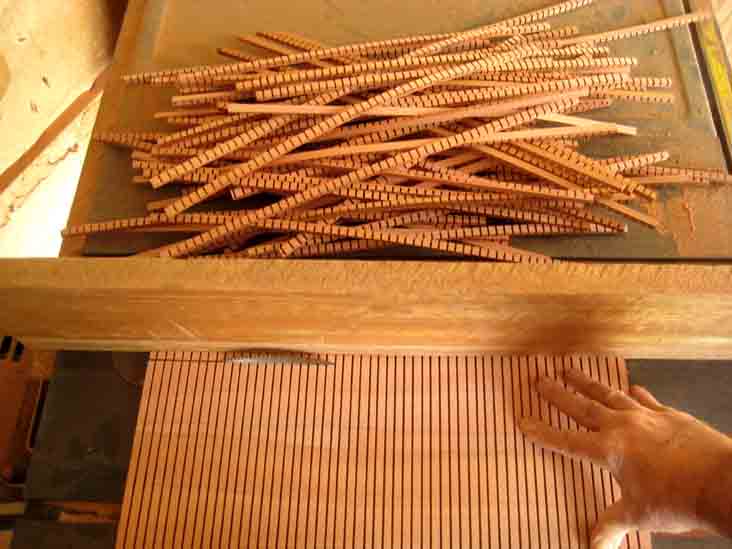
Cutting kerfings on the table saw. Kerfings or linings are strip of wood that are glued to the sides allowing for greater surface area when gluing on the tops and backs.
Spending a few days making kerfings, bindings, braces and all the other necessary parts is sort of a meditation for me. While I can't really let my mind wander, it does give me a break from many of the tedious tasks of building. When I get in a "groove" and I let my mind go it can be a real creative time for me as well, as I design my future ukes in my head. I really enjoy this time in the shop, turning big bits of wood into little bits.
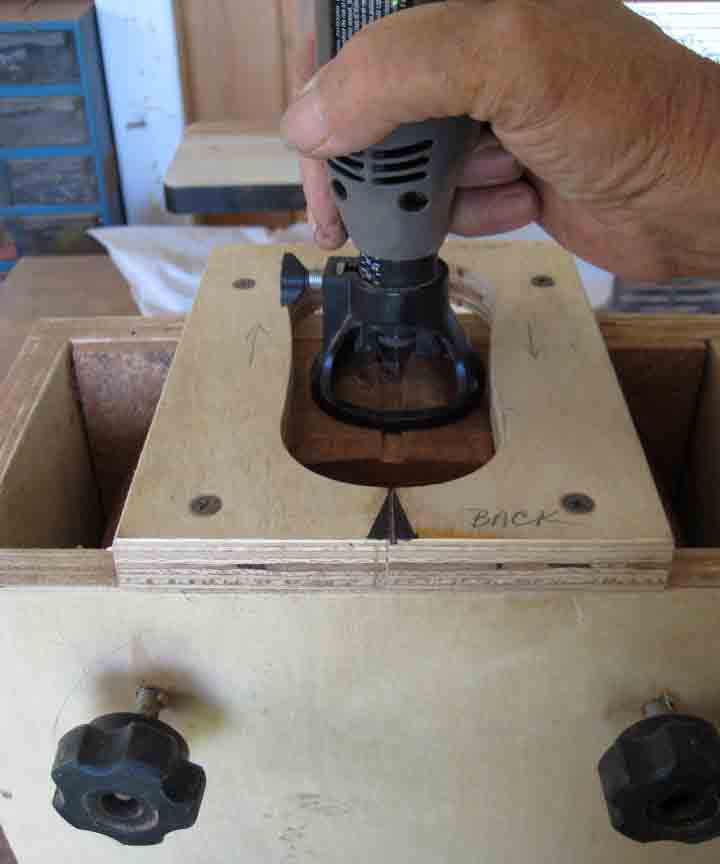
After the top is glued to the sides it it trimmed using a flush cut router bit.
With the neck temporarily attached for alignment purposes, the uke is set into yet another jig. While making it convenient for gluing the back on, this fixture also allows me extreme accuracy in aligning the neck to the body.5 fan bracing for 6 string uke shown.
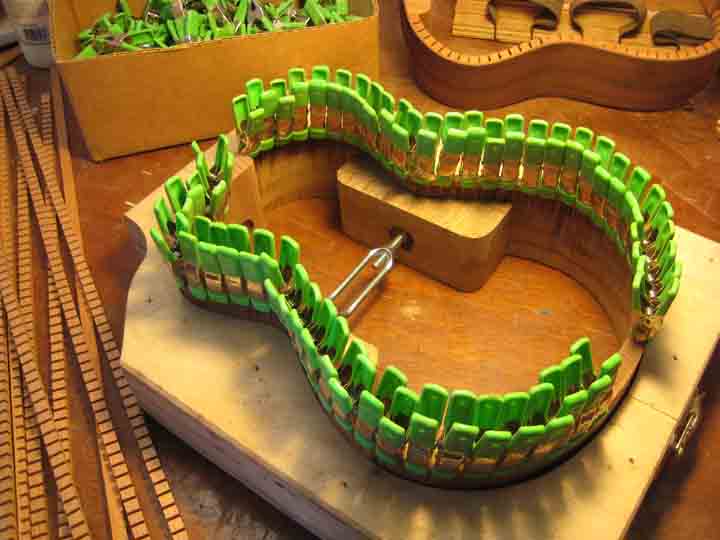
And the back is firmly glued and clamped on
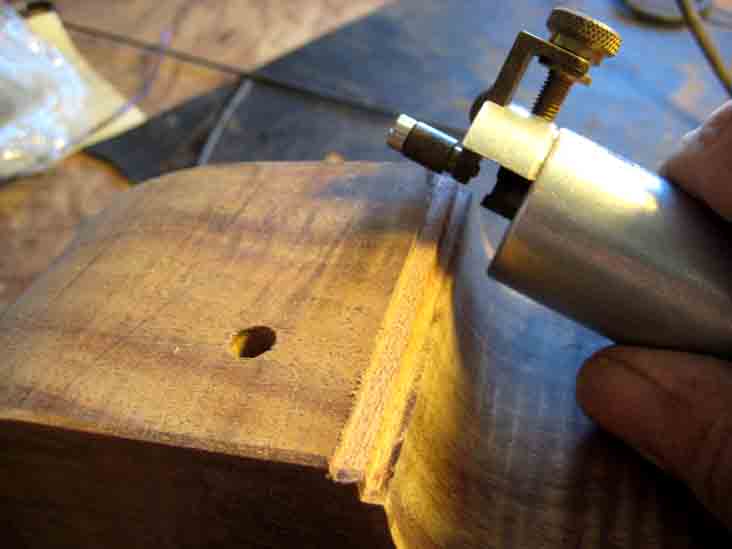
Various channels are cut into the body allowing for purflings, bindings and end grafts.

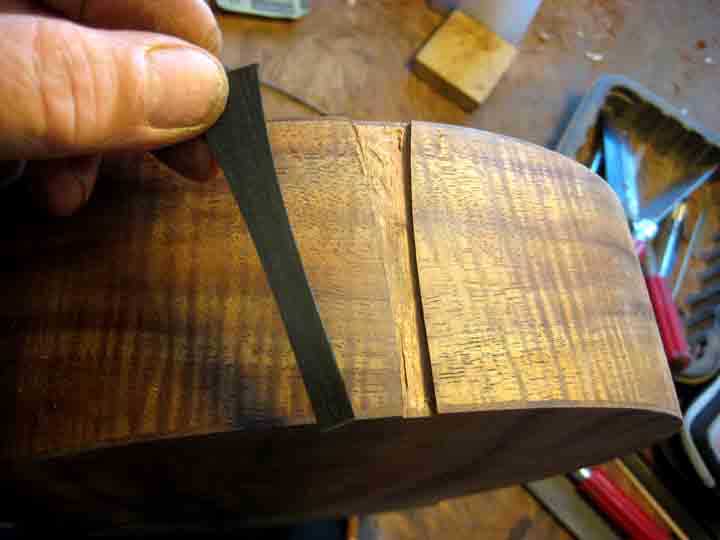
Ebony binding and purfling is installed in the channel previously cut.
An ebony end graft ready for installation.
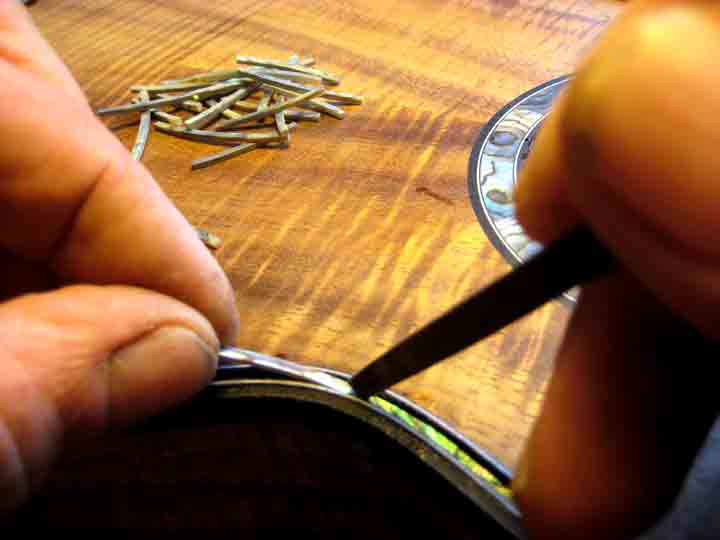
Installing the pearl purfling is a very time consuming process. I use only solid pearl shell, paua abalone in this case, rather than the composite shell used on less expensive ukuleles. Pearl purflings can really add distinction to your ukulele.
The solar powered cutting room
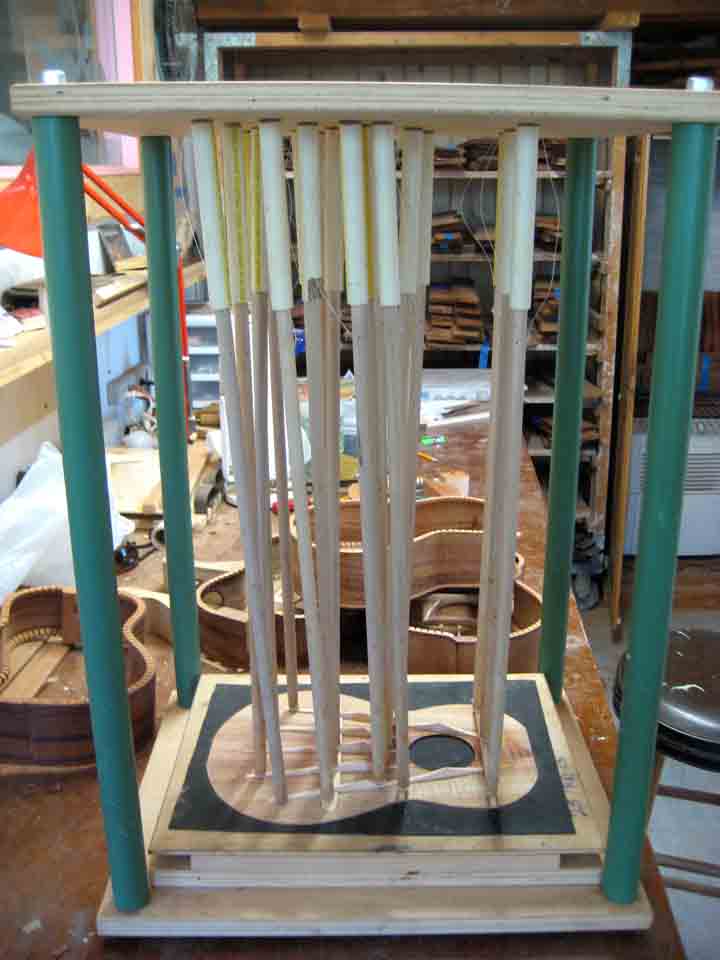
The Go sticks are spring loaded to apply even pressure to the braces.
The sound board braces are further shaped until the proper amount of flexibility is achieved.
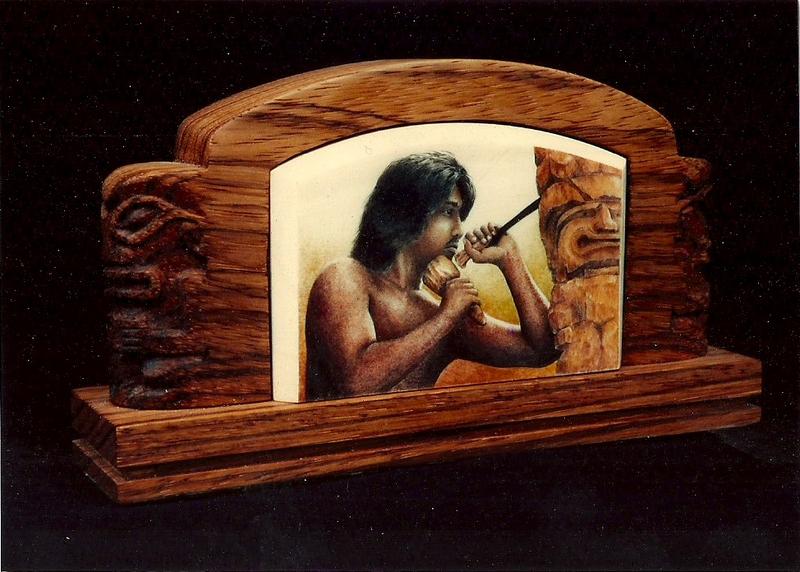
INLAY
In this "wave" inlay the pattern pieces are cut and individually glued to the shell which is then cut with a jeweler's saw. The pieces of the "puzzle" are then glued together and fit into a cavity that has been routed into the head stock. It is then glued and sanded flush.
.
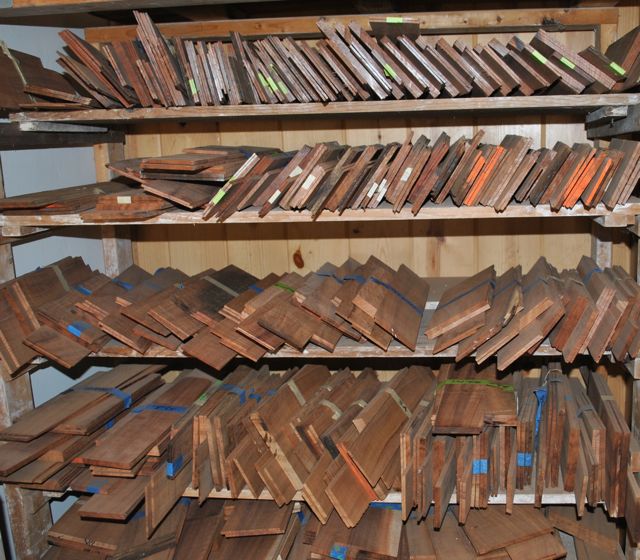
Koa Wood Sets

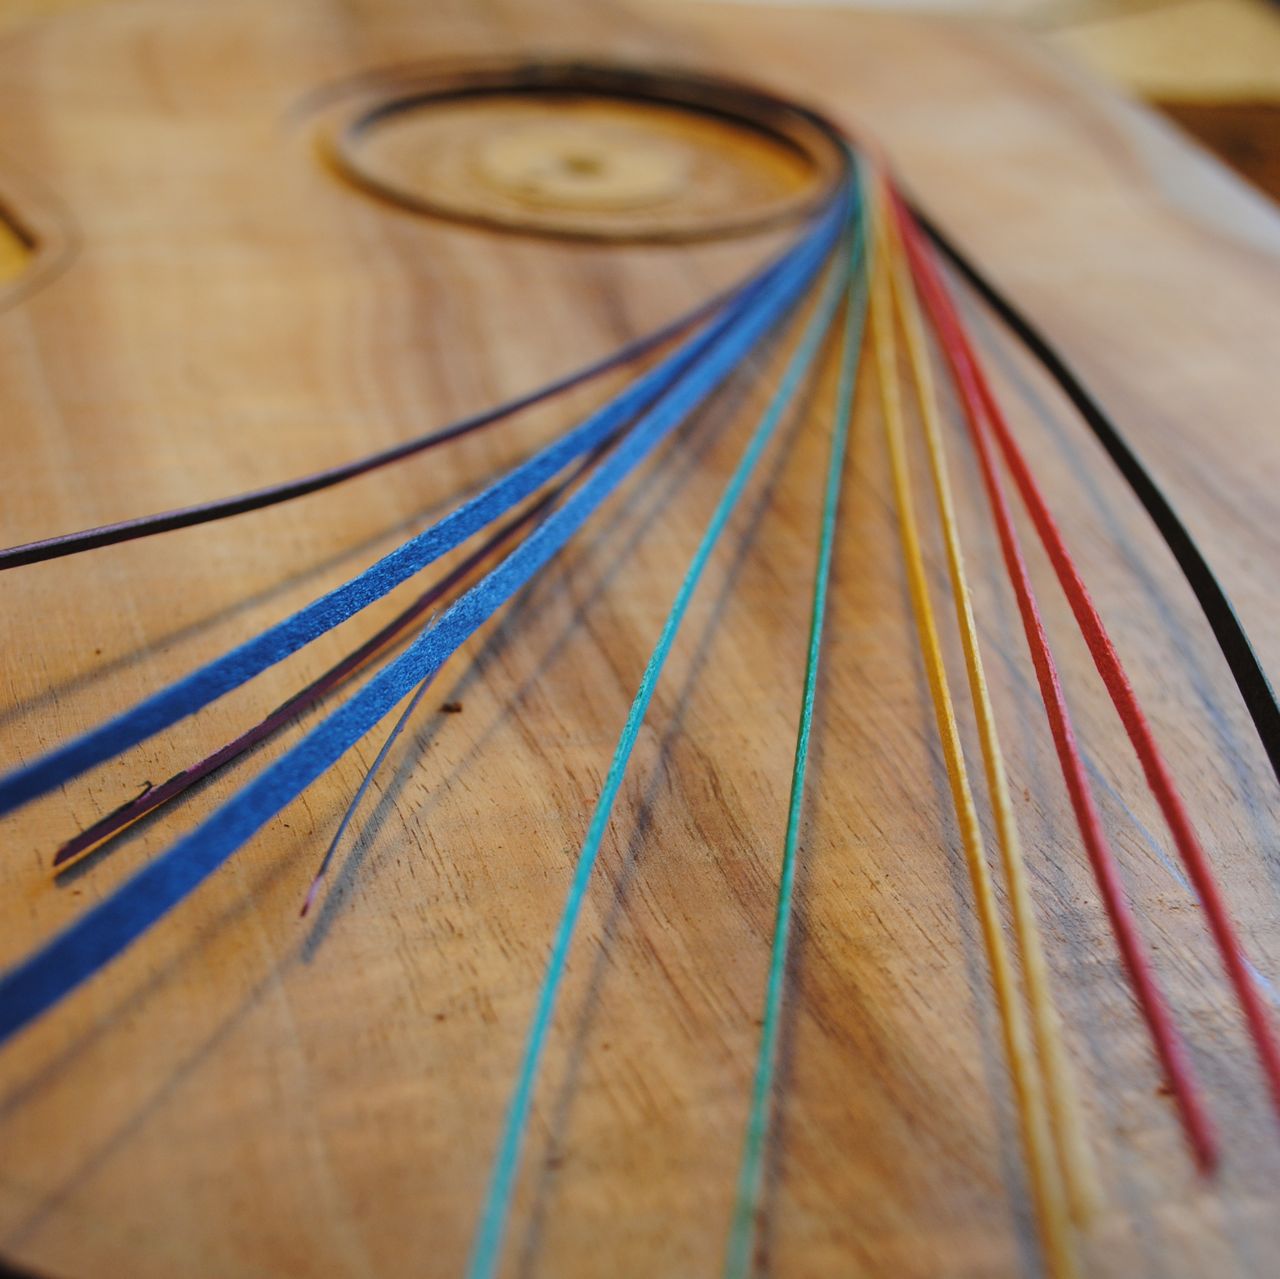
A "Rainbow" rosette in process
Checking pearl for a good fit
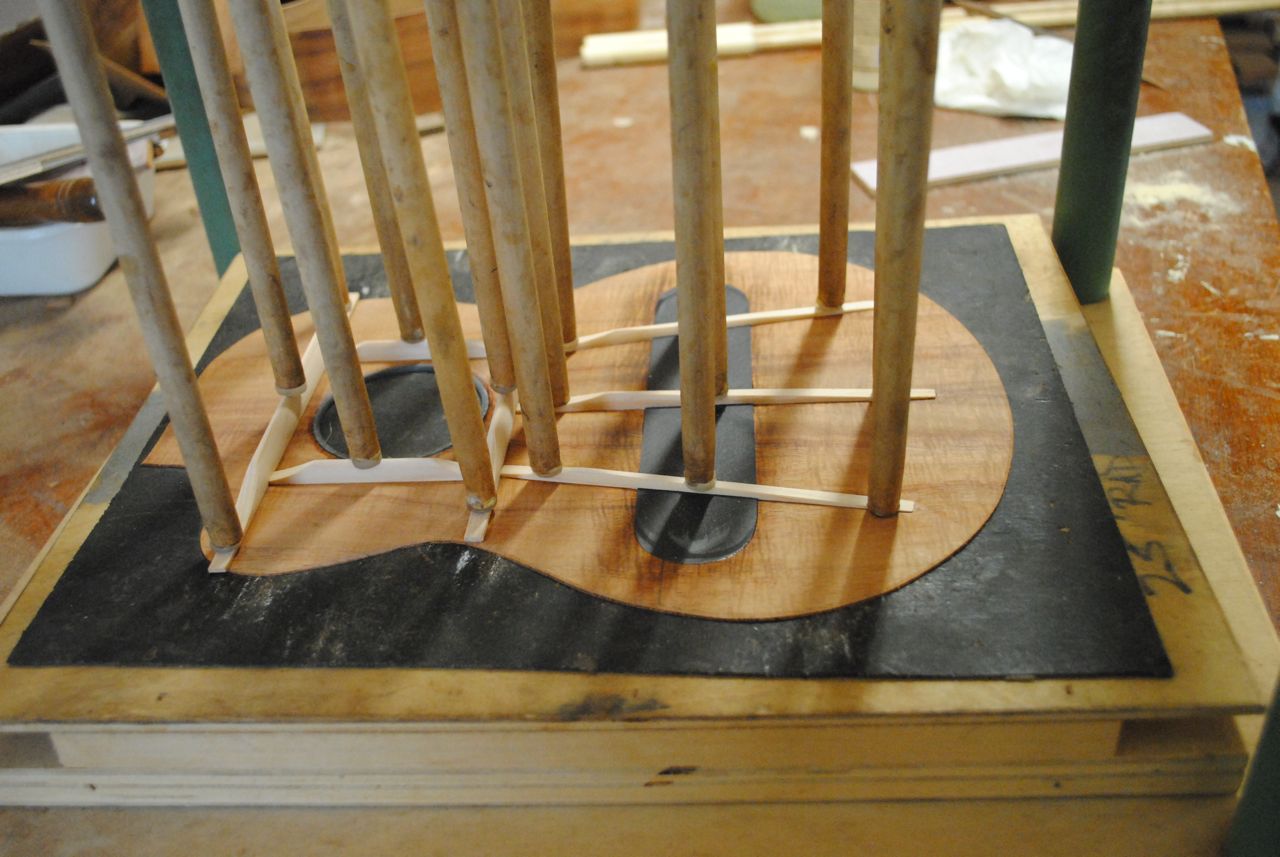
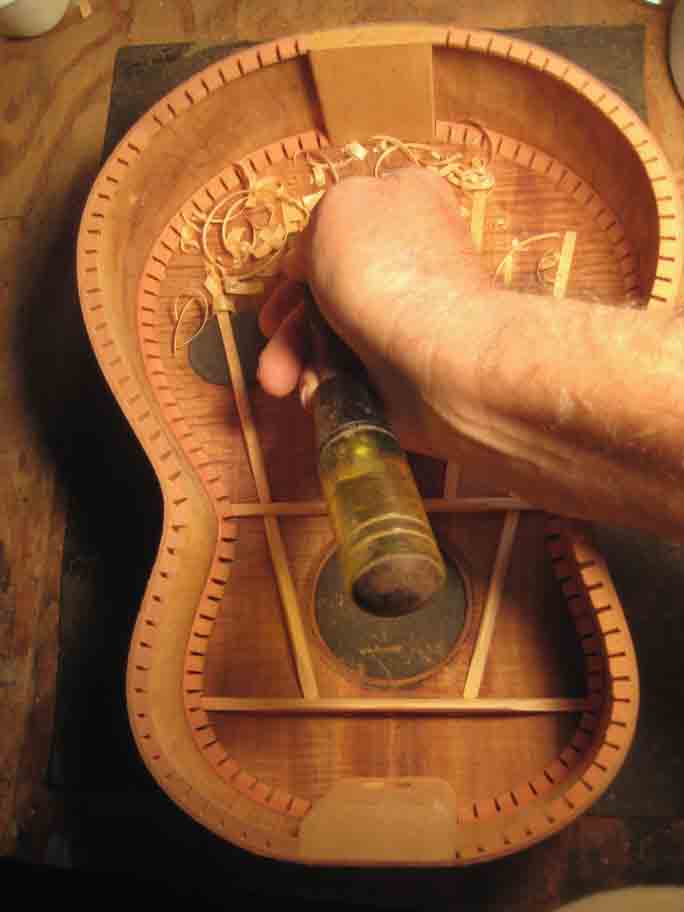
Bracing tops and backs in the go deck. It is critical that these steps be done in a climate controlled environment to reduce the risk of future swelling, shrinking or distortion. Notice the use of carbon fiber as a bridge patch in the top plate above. Necks and side sound port backing also receive carbon fiber support.
The work bench after a busy day of inlaying.
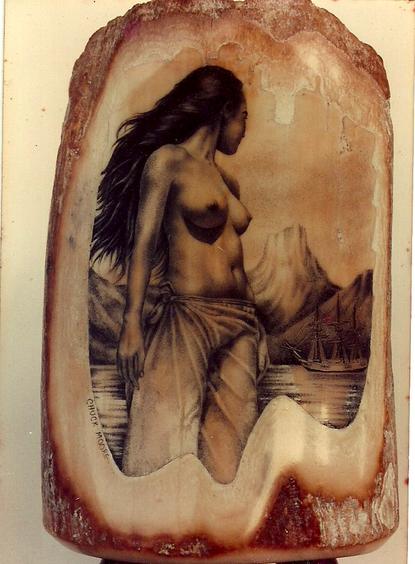
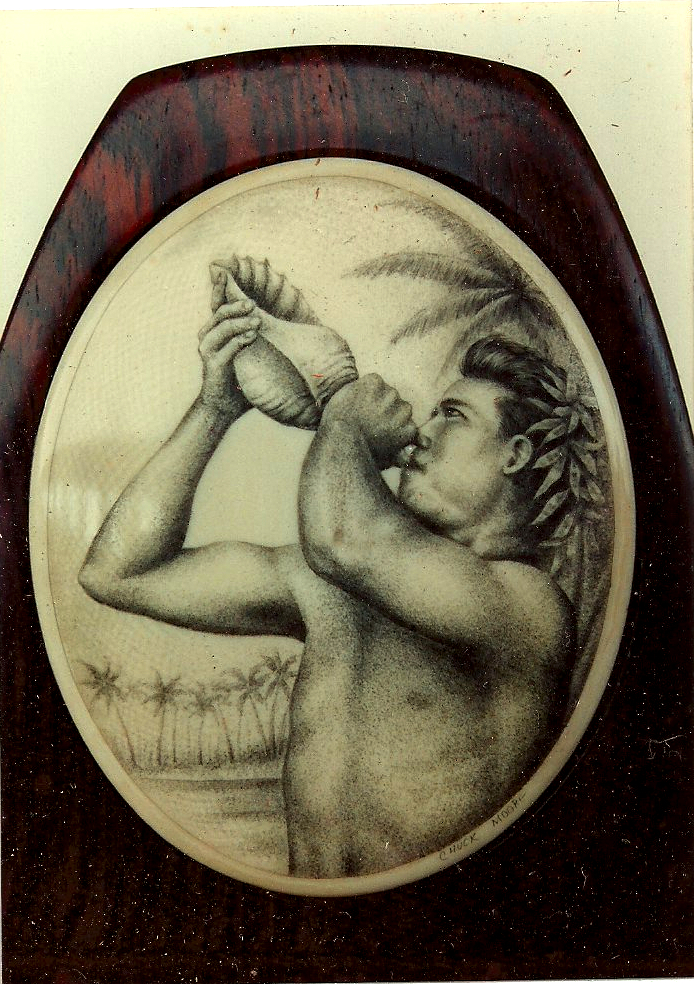
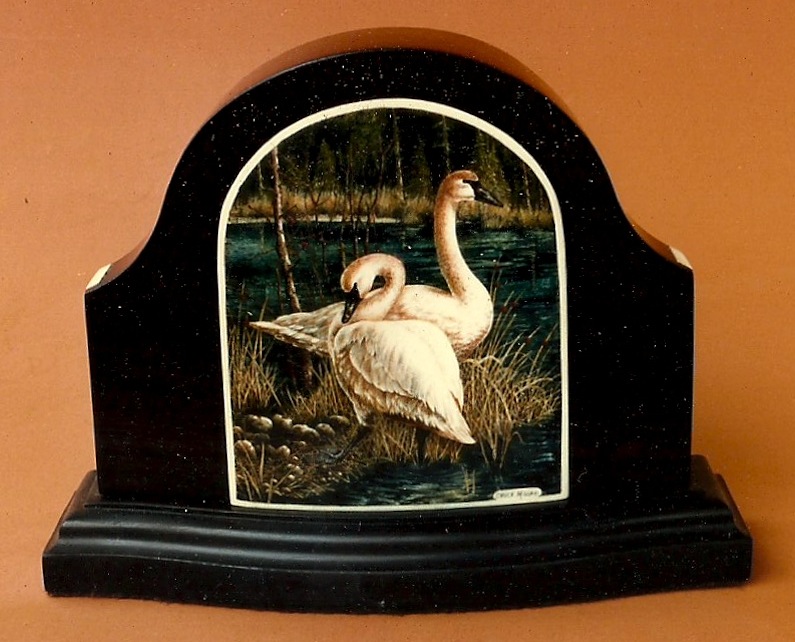
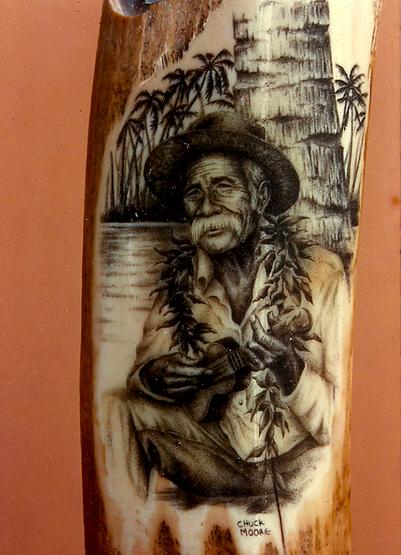
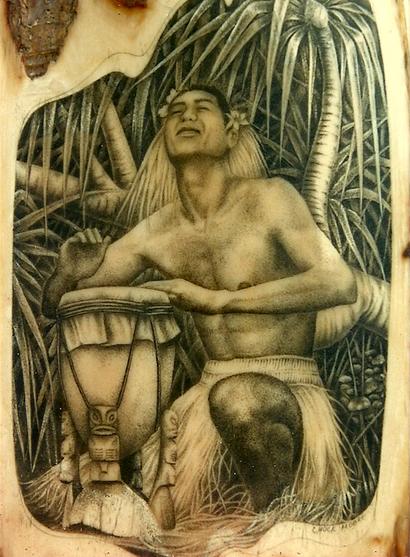
Scrimshaw
Although I am no longer creating scrimshaw as a stand-alone art, I do enjoy incorporating it into the inlays of some of my work. This traditional whaler's art involves etching on ivory, in my case with a #11 Exacto knife blade. As the lines and dots are engraved they are filled with pigment. This is not painted on top and there is no color left on the surface. The ivories I use today are non-endangered fossil mammoth ivory, 10,000 to 40,000 years old. Most of the examples show below were made while on the island of Moloka'i and entail between 100 and 200 hours each to complete.
Wood Pore Filling with Cyanoacrylate Glue
In order to achieve a glossy mirror-like finished on many open pored woods, like koa, these pores need too be filled with a filler and sanded flat before a finish is applied. Although not without its' harzards during the application process I feel using ca glue provides the longest lasting (no shrink-back) and best appearance fot use on instruments. I've had many requests from many builders over the past 18 years to share my process and I am happy to do so here:
PORE FILLING WITH CA GLUE
For best results follow this procedure precisely!
The company I get my ca glue from is CPH International in Los Angeles somewhere. They are super easy to work with and ship the same day. The type I use for pore filling is their EM 150 (Medium) I have filled over 800 instruments with the stuff. I think the EM 150 is the perfect blend of viscosity and grain filling capability. They will also give you a bunch of 2 oz bottles and pipettes with your order so no need to buy any extras. Keep the bottles in the fridge between uses for greatest shelf life. Here is there web site: http://www.starbond.com/
After trying many brands, the paper towels I use now are Bounty. Like all paper towels and ca glue they do get hot and "go off "pretty quickly so quick you need to work fast. But of all the brands I've tried Bounty seems to give you a little more working time. I also like Bounty because they come in half sheets and they also have enough "tooth" to hold and spread the glue properly but they go off Just stay away from brands like Viva, they are so smooth it's like spreading with waxed paper. (Viva is great for hand polishing finishes.)
Before beginning I will fold have a dozen half sheets of paper toweling until I wind up with a 2" square. These are my applicators. Trail a bead of CA in a squiggle pattern of the surface and immediately begin "wiping" the glue into the wood using long stokes going 3/4 against the grain. Essentially, you are using these pads like a paint brush, using the same technique. You'll have less than a minute to work so work efficiently. I do the top first, with a single application, then the back. Try to fill these large areas all at once. Then I fill the sides. I usually fill the sides in three part because of the curved surface; first both sides of the upper bout, then I fill the bass side of the lower bout followed by the treble side. Keep checking the top and back while you are filling the sides to make sure no more glue has gotten on those surfaces. Make sure there are no drips!!! They are a PITA if left to dry! So work in good light! You'll get a feel of how much CA to use. The first coat will absorb into the wood somewhat so it will require more than subsequent coats. If the "squiggle" of the first coat was consolidated into a puddle it might be the size of a quarter or so. Following coats will likely require less ca glue. By all means make sure that the coats are very thin, smooth and even. Drips and built-up areas of ca glue can be difficult to level without sanding the surrounding areas. The objective is to not just filing the pores of the wood but to leave a very thin film of ca glue to serve as a base for your final finish.
Pore filling a neck with ca can be a little tricky. Apply a line down one side of the neck and then the other, spreading quickly. Make sure your fret board is taped off tightly at the sides.
I usually apply 3 coats for most woods including koa. Even though it seems to set within a few minutes I find it sands better if you wait a half hour or so. Do not be tempted to use any accelerator during this process or it'll negatively affect your next coat. Sand between each coat (I use a random orbital with a soft backing pad) with 220 dry; resist the temptation to use higher grits. Waist areas can be sanded by hand or on a spindle sander. Take great pains to NOT sand through to bare wood!!! If you do sand through, touch up the area with pore filler. Remember, the ideal is to build these coats, not to sand them all off! At this stage, after three coats, it should be absolutely smooth and pore free, ready for your shellac application. I use shellac for its’ unsurpassed adhesion properties which is essential when using ca glue as a pore filler as it acts as a "sticker" coat between the ca and your final finish. If you are sealing one or two instruments at a time Zinsser Bulls Eye shellac in the aerosol can is convenient to use and it is wax free. I’ve tried brushingv the liquid shellac (it comes in both waxed and dewaxed forms—use the dewaxed) but I’ve had trouble with lap marks. Spray the shellac on very lightly as it runs easily. I usually fog on two coats within an hour. After 24 hours you can level with 220 dry and then you’re ready for your final finishing.
The entire filling process can be done within in an hour or two (for 3 coats) though most of that time is spent waiting for the ca to dry. It takes less than a couple minutes to apply the glue itself. Allow the shellac to dry over night before applying your first finish coat. Again, it’s imperative to use shellac over the ca glue for proper adhesion.
The best thing about using ca as a pore filler is that you'll find that you can get away with many fewer coats of finish, since you are not depending on the lacquer as a pore filler. It’s also very fast and it will never shrink back into the pores. Be advised that as with all steps of finishing, pore filling with CA glue takes practice to do it well. Just be neat, clean and work quickly and efficiently.
And by all means, wear a GOOD respirator, eye protection, and work in front of a fan or on a down draft table.